Render engines
Watch the video or,
Follow the step by step instructions below.
Blender has 2 main render engines: Evee and Cycles. Evee is a bit like a game engine. Cycles is a render engine, a path tracer, and is a bit more precise.
Changing engines
In Blender if you go to the Render Properties on the right,

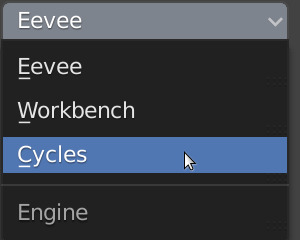
You can change the render engine. By default it is set to Evee.

But you can change it to Cycles.
You will notice that with Cycles it takes much more time to render. First it becomes a bit pixelated but slowly it gets better.
Cycles tries to emulate each ray of light bouncing around your scene. A bit how light works in your own house or garden. With Cycles your image looks (slightly) better.
CPU - GPU
If you have a good graphics card you can have Cycles use your graphics card. On the Render Properties on the right you can select the Device: CPU or GPU.

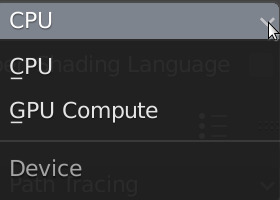
Select GPU.
Your scene will be rendered on the Graphics Card. Sometimes this is faster than on th CPU.
Render
To render your image,
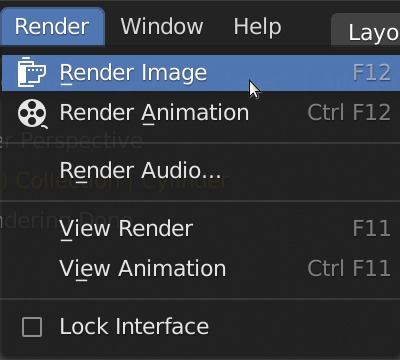
Select Render -> Render Image from the menu on top.
You will notice that a new window opens. It can take quite a long time to render an image using Cycles however the quality can be better.
Set the device to CPU
Render the image.
Then set the device to GPU
Render the image again.
Which one is faster, the CPU or the GPU?