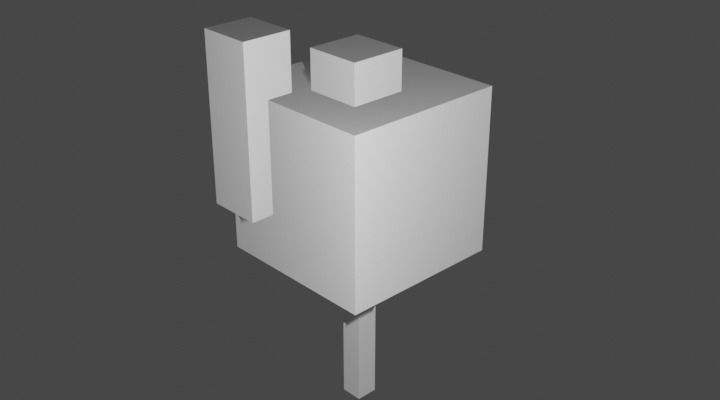
Tree of Cubes
In this tutorial you will learn how to resize and scale objects in Blender. You will create a tree of cubes. You will learn how to use the Scale Tool or the shortcut S.
Watch the video or,
Follow the step by step instructions below.
Viewport shading
First select the Rendered mode in the Viewport Shading from the top right corner.

Scaling
To create the tree trunk we will scale the cube.
Select the cube.
Then select the Scale tool.

You will notice the handles at the cube.
Use the handles to squeeze and stretch the cube in 3 directions.
The red handle will scale the cube in X-direction, the blue handle will scale in Z-direction and the green handle will scale in Y-direction.
Use the handles to create a tree trunk.
Leaves of cubes
Let’ s add a cube.
Select Add -> Mesh -> Cube from the Add menu on the top.

Move the cube on top of the tree trunk.
Select the Move tool.

And move the cube on top of the tree trunk using the arrows.
Add another cube and stick it to the side of the tree.
Scale the cube using the Scale tool. Shrink the cube in X and Y direction. Make sure it still sticks to the tree.
Add another cube.
Put the cube on top.
To scale in all 3 directions simultaneously, you can use the shortcut S.
Scale the cube using the shortcut S and make it much smaller. Make sure the shrunked cube is still on top.