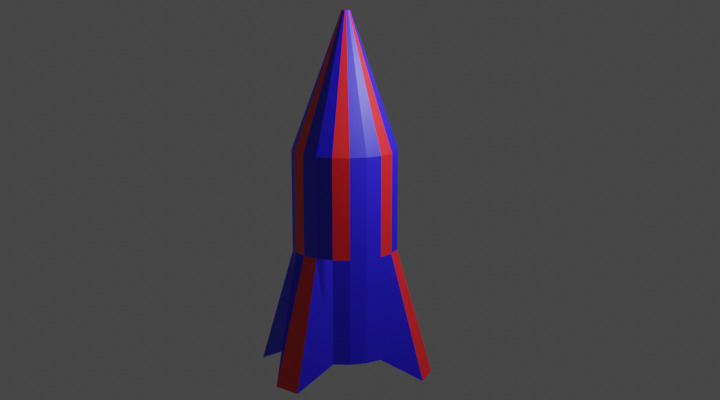
Rocket
Watch the video or,
Follow the step by step instructions below.
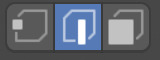
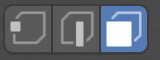
Viewport shading
First select the Rendered mode in the Viewport Shading from the top right corner.

Model a rocket
To model a rocket we need to start with a cylinder. Let’s remove the cube.
Press X and select OK to delete the cube.
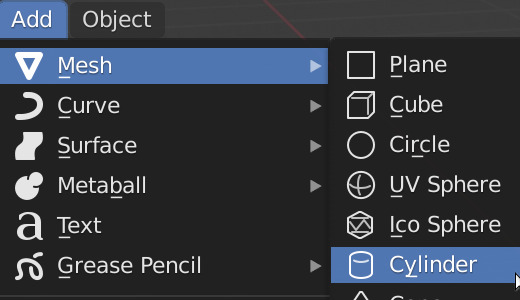
Next add a cylinder,
Press Add -> Mesh -> Cylinder.
The cylinder has many sides. Let’s reduce the number of sides.
In the bottom lefthand corner you will see an Add Cylinder menu. Open the menu.

Change the number of vertices to 20.
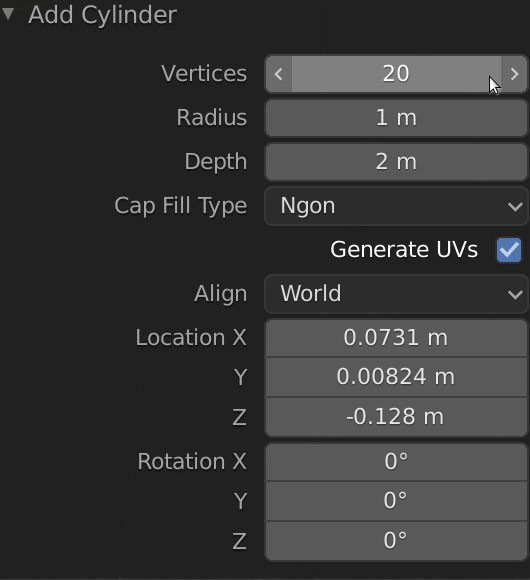
Now we have a cylinder with less sides.
Rocket fins
To create the fins of a rocket we need to pull out some edges.
Make sure the cylinder is selected.
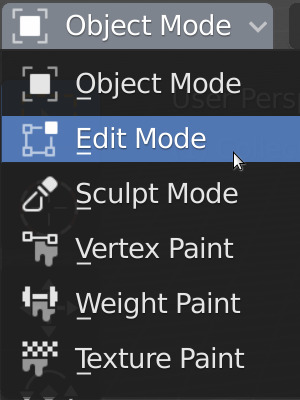
Go to Edit mode.
Select Edge select.
Now we need to select 4 edges for the fins. To select multiple edges you will need to hold down shift.
At the bottom of the cylinder, select an edge, then hold down SHIFT, then select 3 more edges.
Press S for Scale and move the mouse to pull out the edges.
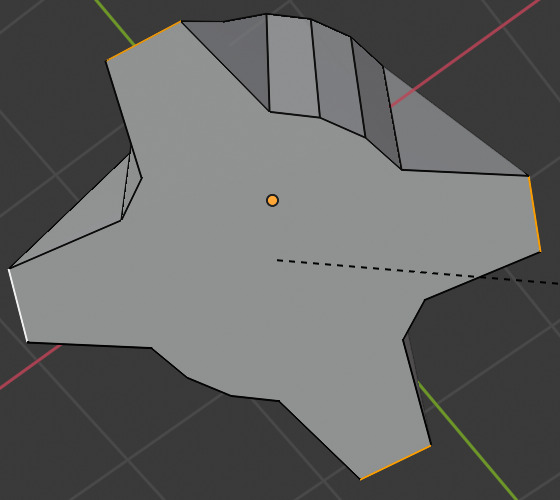
Now we have something that resembles the fins of a rocket. To have the rocket rest on the fins we need to pull these fins down.
Make sure the edges of the fins are selected.
Press G+Z and pull down the edges. The edges move along the Z-axis.
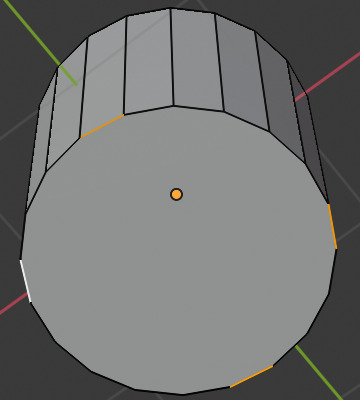
Rocket nose
To create the nose of a rocket we need to extrude the face on top of the rocket.
Go to Face select.
Select the face on top.

Press E+Z and pull up the face, in Z-direction.
Press E+Z again and pull up the face once more.
Now we have 2 sections. Let’s scale down the face on top to create a nose.
Make sure the face on top is selected.
Press S and scale down the face.
If you want the nose to be more pointy, you can grab and move the nose along the Z-axis.
Press G+Z and move the face up.
Make the nose as pointy as you’d like.
Coloring the Rocket
Next we’re going to give the rocket a color.
Watch the video or,
Follow the step by step instructions below.
Add a blue color
To give the rocket a blue color go to Edit mode.
Select the rocket.
Go to Edit mode.
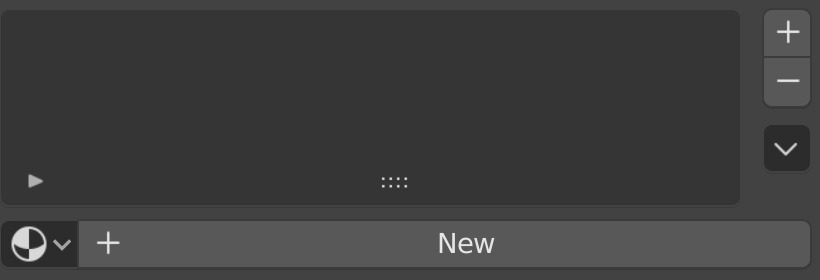
Go to the Material tab on the right panel.

Add a new material by pressing New.
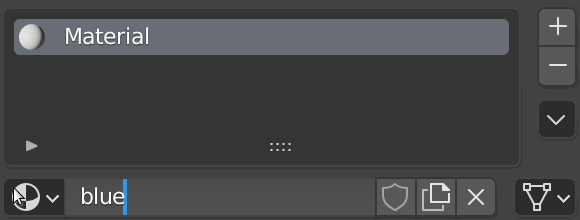
Give the material a name, for example blue.
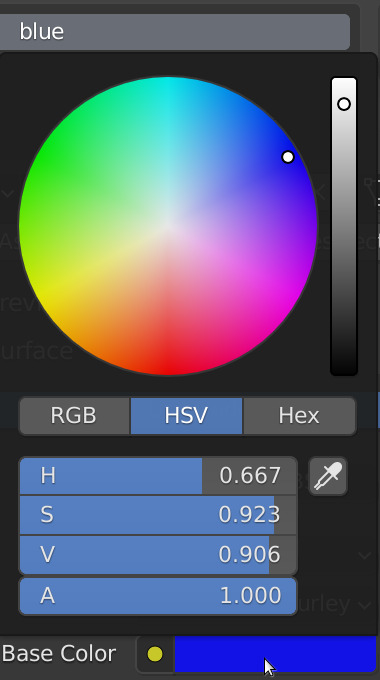
Click on the white-colored bar next to the Base Color.
Select a nice blue color.
You will notice that all the faces of the rocket have a blue color.
Color some faces red
First we add a new material.
Go to the Material tab.
Click on the + button to add a new material.
Click on New.
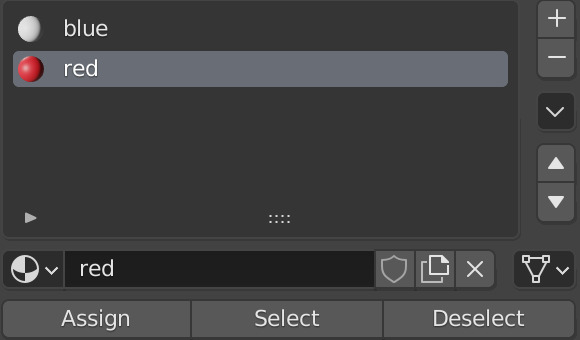
Give the material a name for example red.
Select a red base color.
Now that we have created a new material we can assign this material to a face.
Make sure that Face select is enabled.
Select a face on the rocket that you want to color red.
Select the red color from the Material tab.
Then press Assign to assign the red color to the selected face.
How does your rocket look like?