Model a cup
Watch the video or,
Follow the step by step instructions below.
Follow the steps to create a cup.
The cup
Remove the cube.
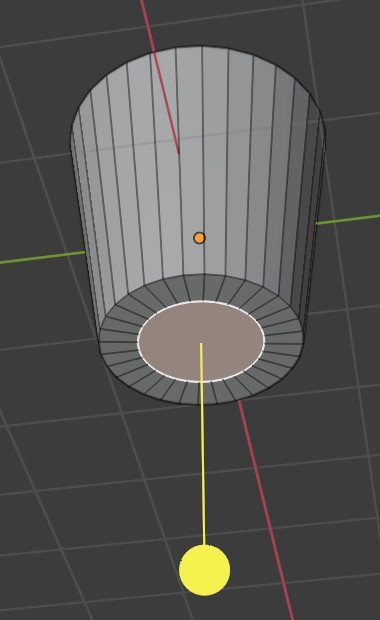
Add a cylinder.
Go to Edit mode.
Remove the top face of the cylinder.
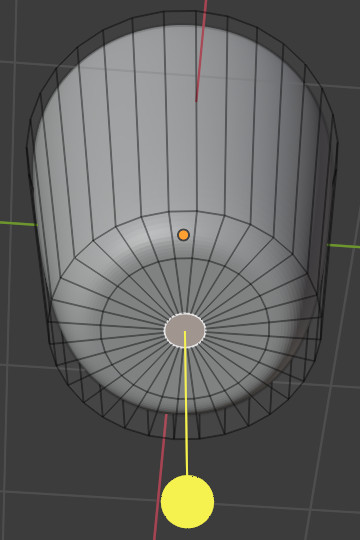
Now let’s make the bottom smaller.
Select the face at the bottom.
Scale the face making it smaller.
We have a very basic shape of a cup. Now we’re going to use modifiers to shape and smoothen the cup. First we need to create a proper bottom for the cup.
Select the Inset Faces tool
Make an inset.
This will be the bottom for the cup.
Let’s make the cup thicker. We will use a solidify modifier for this. Modifiers don’t change the geometry of an object. It’s an operation performed on the object.
Go to Object mode.
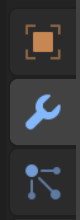
Go to the Modifier tab.
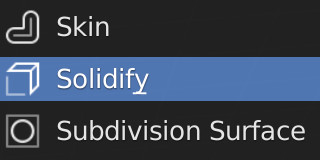
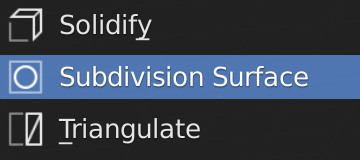
Add a modifier. Select Solidify from the Generate menu.
Now we can set a thickness for the cup. Change the thickness to for example 0.1.
Now we will smooth the cup by adding more faces. We use the Subdivision Surface modifier for this task.
In the Modifier tab, add a Subdivision Surface modifier from the Generate menu.
You can play with the Levels Viewport and Render. Set both to approximately 4.
If you look at the bottom you might see some ridges.
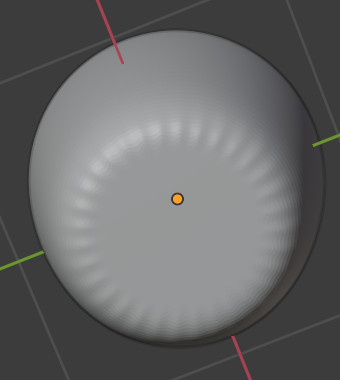
To change this we’ll have to create another inset.
Go to Edit mode.
Select the Inset Faces tool.
And make a smaller inset.
Back in Object mode the ridges should be gone.
The handle
To model the handle we need to add 2 cuts. Between those cuts the handle will be created.
In Edit mode, select the Loopcut tool.
Create two cuts, one at the bottom and one at the top. Between those cuts we will create the handle.
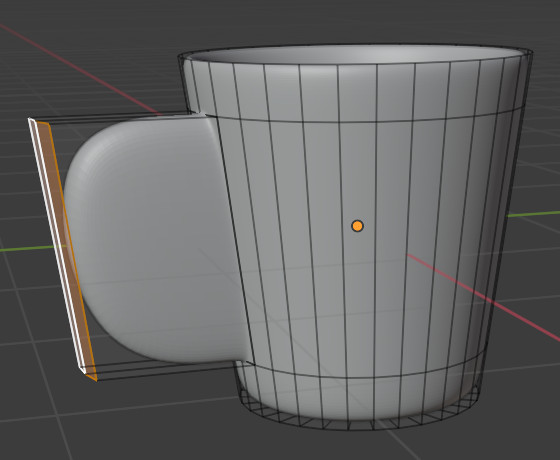
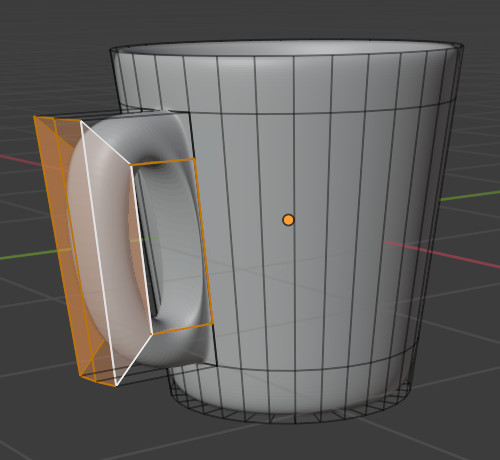
Select the Face tool.
Select two faces for the handle.
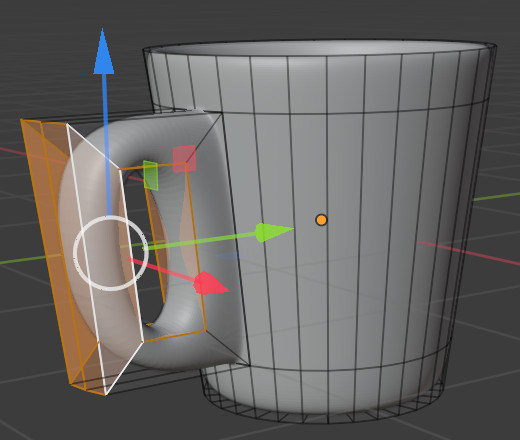
Extrude these in Y or X direction.
Let’s create a hole in the handle.
Select the two faces on the side.
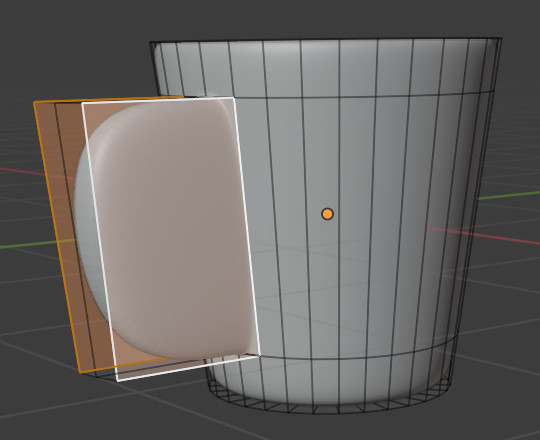
Select Inset Faces tool.
Create an inset for the hole. For example,
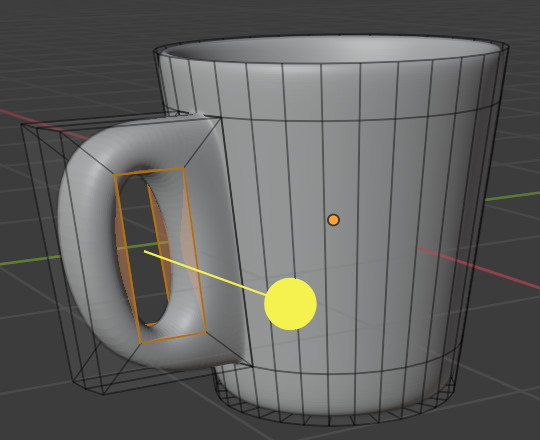
Select Edge -> Bridge Edge Loops from the menu.

And you should have a hole, for example,
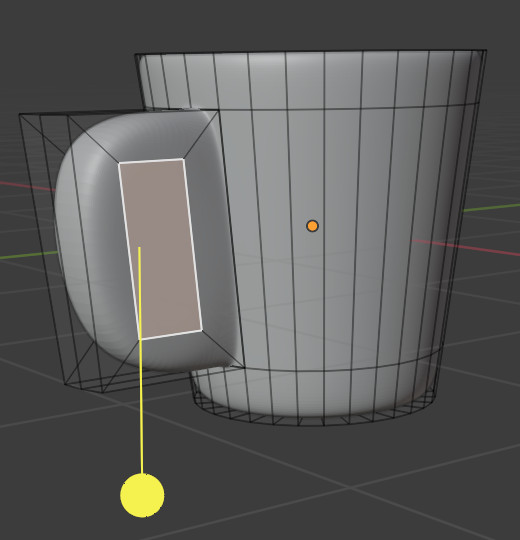
To improve the hole we can push back some faces.
Select the 2 outer faces.
Use the handes or press G+X or G+Y and push these faces back into the cup.
If you want to sharpen the connection between the handle and the cup we can create additional loop cuts.
In Edit mode, select the Loop cut tool.
Create a cut just above the handle. Move the cut to see the effect.
Create a cut just below the handle and move the cut to see the effect.
Challenges
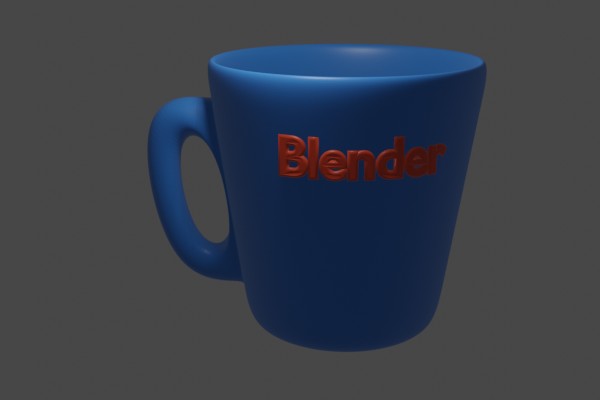
Go back in Object Mode and give your cup a color.
Add a surface for your cup to sit on.
Add the text “Blender” to your cup. You can add a text by:
Adding a Curve -> Circle.
Place the circle around the cup and scale it to the size of the cup.
Add a text Blender.
Place the text inside the cup.
Add a Circle modifier.
Select as Curve object the circle object. Play with the Deform axis to get the text correct.
Go back in Object Mode and give your cup and text a color.