Parenting
Watch the video or,
Follow the step by step instructions below.
Viewport shading
Enable the Rendered mode in Viewport Shading in the upper-right corner.

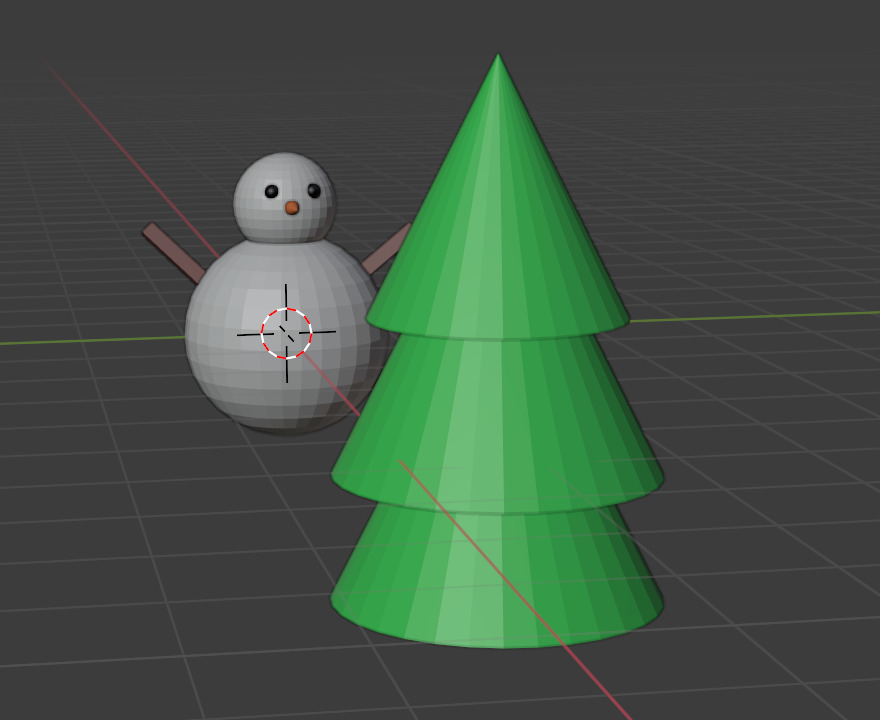
Objects like the snowman consists of multiple other objects, like the eyes, the nose, the arms. If you need to move the snowman, like in the image below, you will have to select all objects of the snowman and then move everything.
With Parenting one object becomes the parent of all other objects.
The Outliner
The top right window is called the Outliner. Here you can see all the objects of a scene. For the previous image the Outliner looks like:
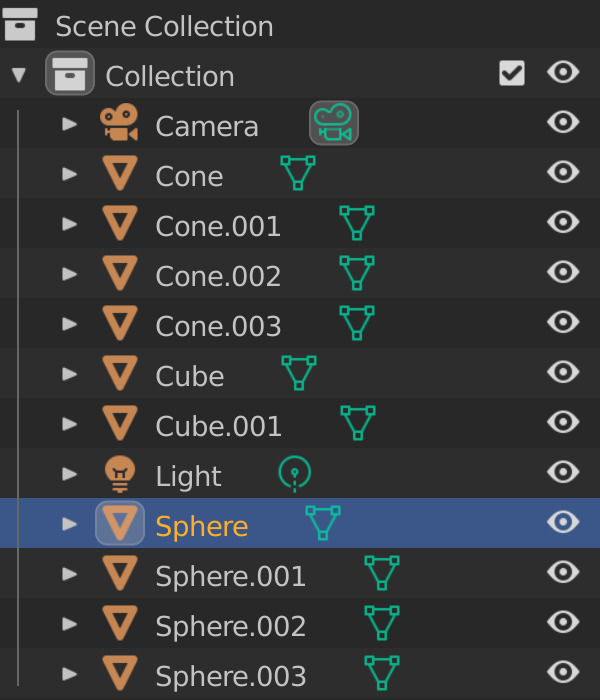
If you select an object in the Viewport, this object is highlighted in the Outliner.
Naming objects
In the example above the objects are not properly named. You can change the names of the object in the Object Properties tab on the right.

Select the bottom of the snowman.
Check the selected object in the Outliner.
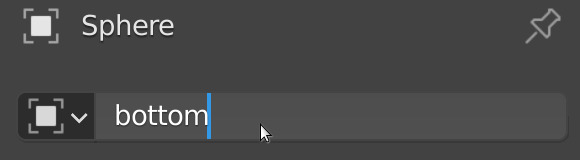
Go to the Object Properties tab.
Change the name of the object to for example Body or Bottom.
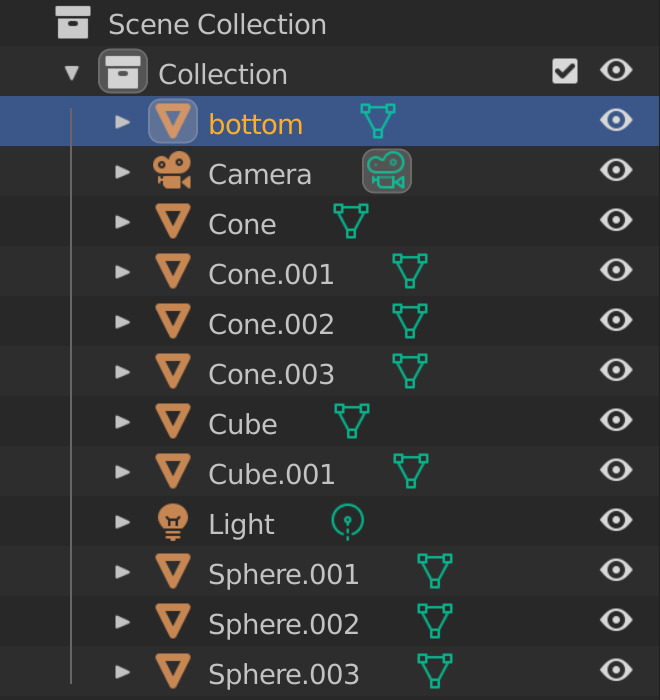
If you change the name of the object, the name is also updated in the Outliner.
Change the name of the left arm to LArm.
Change the name of the right arm to RArm.
Change the name of the right eye to REye.
Change the name of the left eye to LEye.
Change the name of the nose to Nose.
Change the name of the head to Head.
Parenting
Let’s parent the left and right arm to the bottom or body.
Select the right arm.
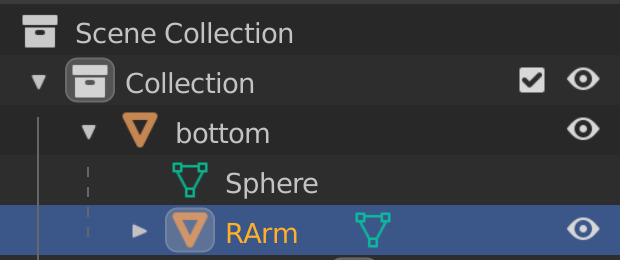
In the Outliner the RArm object is selected.
Left click on the RArm object in the Outliner.
Hold down SHIFT.
Drag it to the Bottom or Body object.
You will notice that the RArm object is moved into the Bottom or Body object.
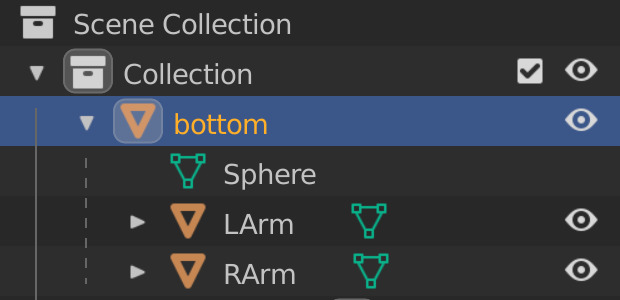
Do the same for the left arm.
In the Outliner both the left and right arm are moved into the Bottom or Body object.
Let’s parent the nose and the eyes to the head.
Select the left eye.
In the Outliner the LEye object is selected.
Left click on the LEye object in the Outliner.
Hold down SHIFT.
Drag it to the Head object.
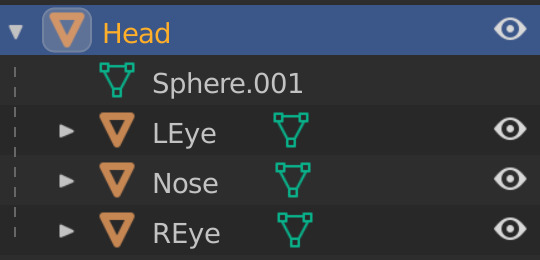
Do the same for the right eye and the nose.
In the Outliner it should look like this:
We can also make the Bottom or Body object the parent of the Head.
Select the head.
In the Outliner the Head object is selected.
Left click on the Head object in the Outliner.
Hold down SHIFT.
Drag it to the Bottom or Body object.
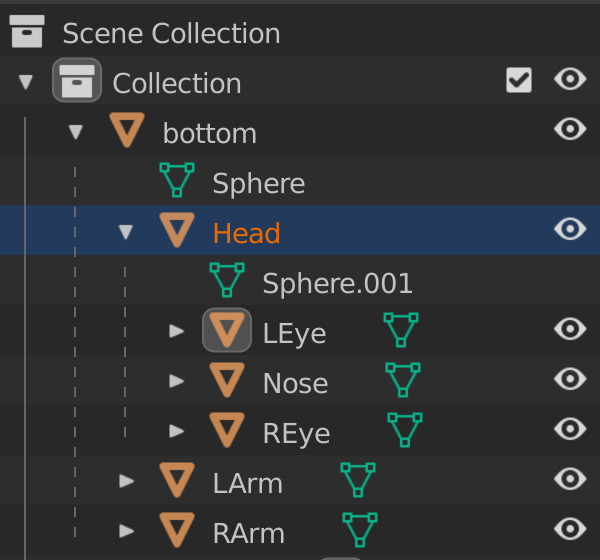
Now if you move the Bottom or Body of the snowman, the head, arms, eyes and nose will move along.
Unparenting
To unparent an object you can select the object in the Outliner and drag it out of the parent object and put it on the Collections.
Select the Head object in the Outliner. It is inside the Bottom or Body object.
Hold down SHIFT.
Move the Head object out of the Bottom or Body object and put it on Collections.
The Head object is again outside of the Bottom or Body object.